This is definitely the easiest part of a project. And, probably every developer knows. I don’t know about you, but I’m fed up with every tutorial in web you have to pass through it. So I’m going to do different. There’s why I’m going just to create a project here.
Open the Xcode and click on Create a new Xcode project as showing in the image below

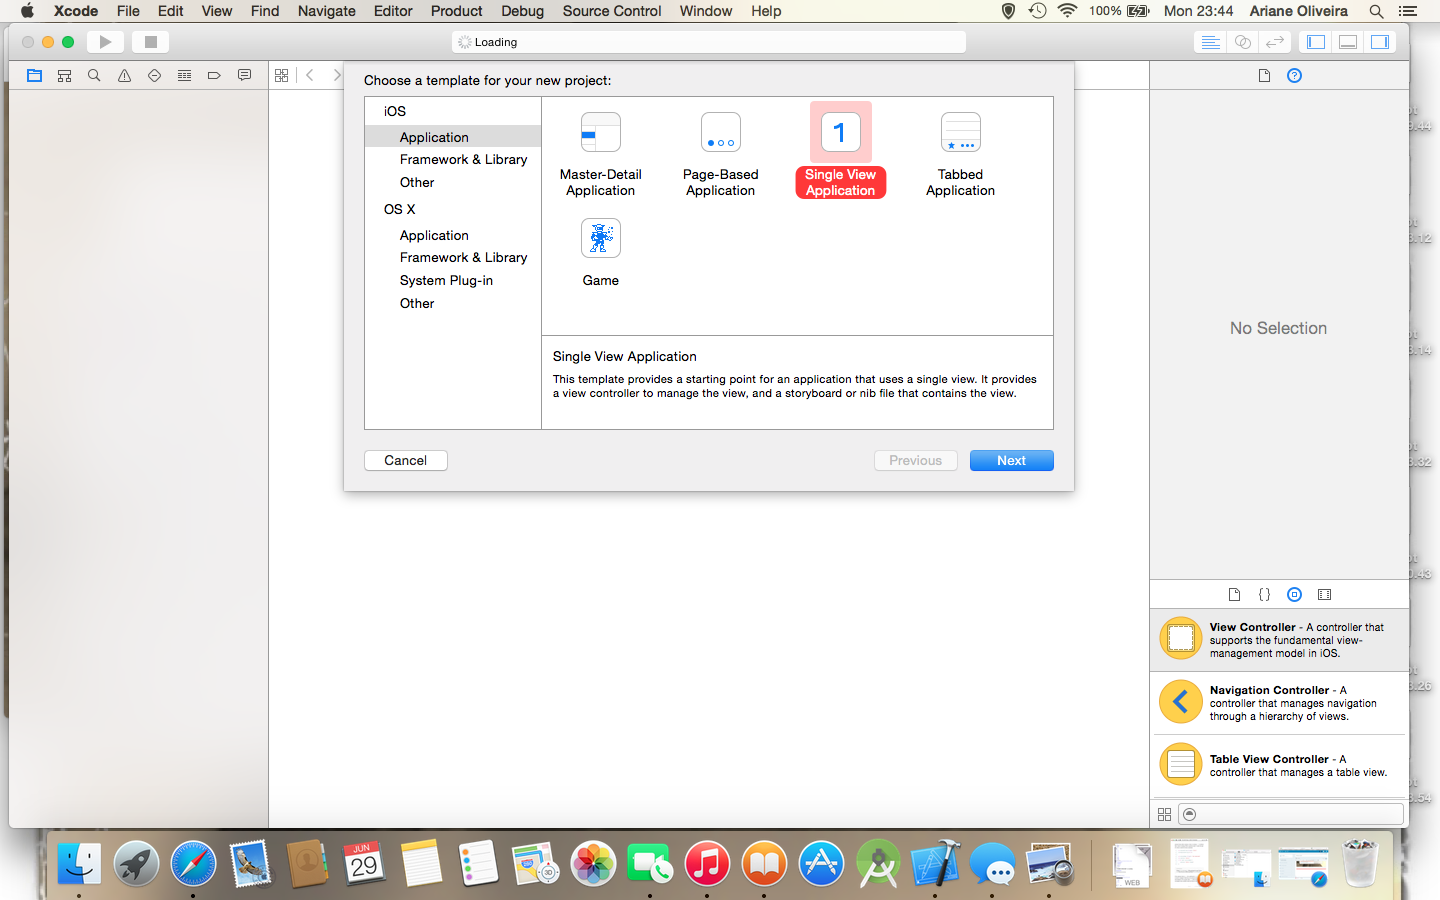
Now, in the left menu IOS, click on Application and choose Single View Application, as shown in the image below.
Now it’s time for the New Project Set Up.
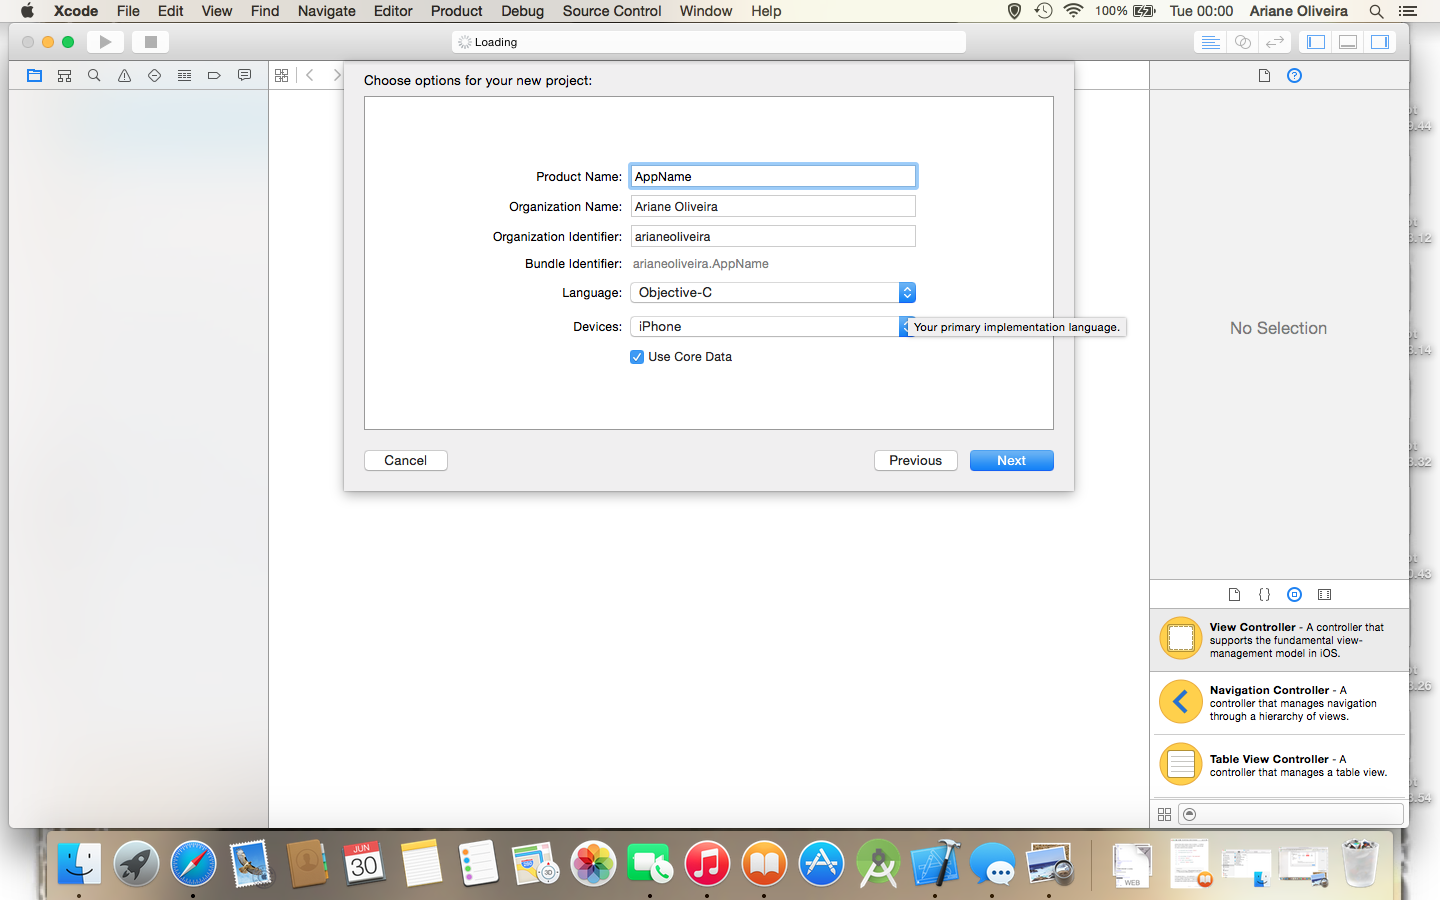
In this screen you an set all basic things related with your project, where the Product Name is the name of your app.
Organization Name is optional, and it’s the place you sign your project company’s name that shows up in App Store.
The Organization Identifier is the main source of the Bundle Identifier, which is your application ID that needs to be unique and uses the reverse domain name service to make sure of it.
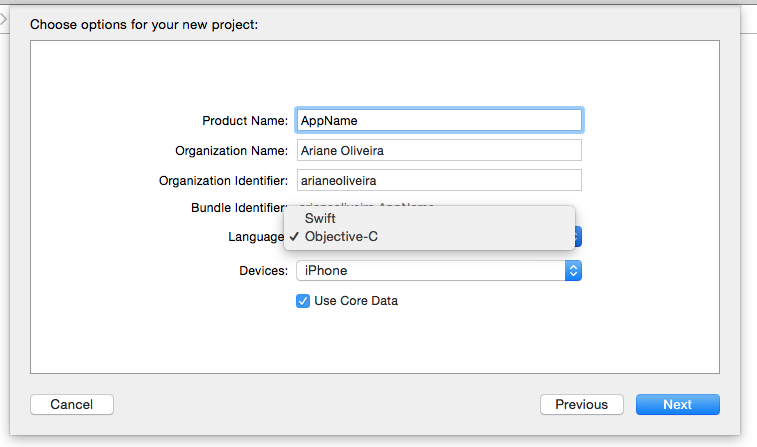
You can set in the language, at this current moment, you can use either Objective-C or Swift, as shown in the picture below
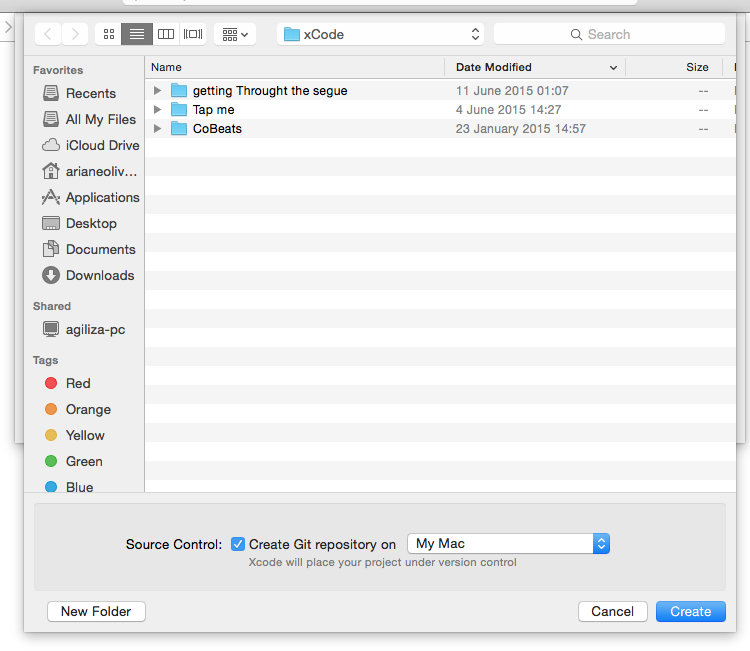
After pressing Next, you will be lead to chose where in your computer the project will be allocated. I suggest a specific folder to use as a Workspace, I have to myself it’s more organised this way.
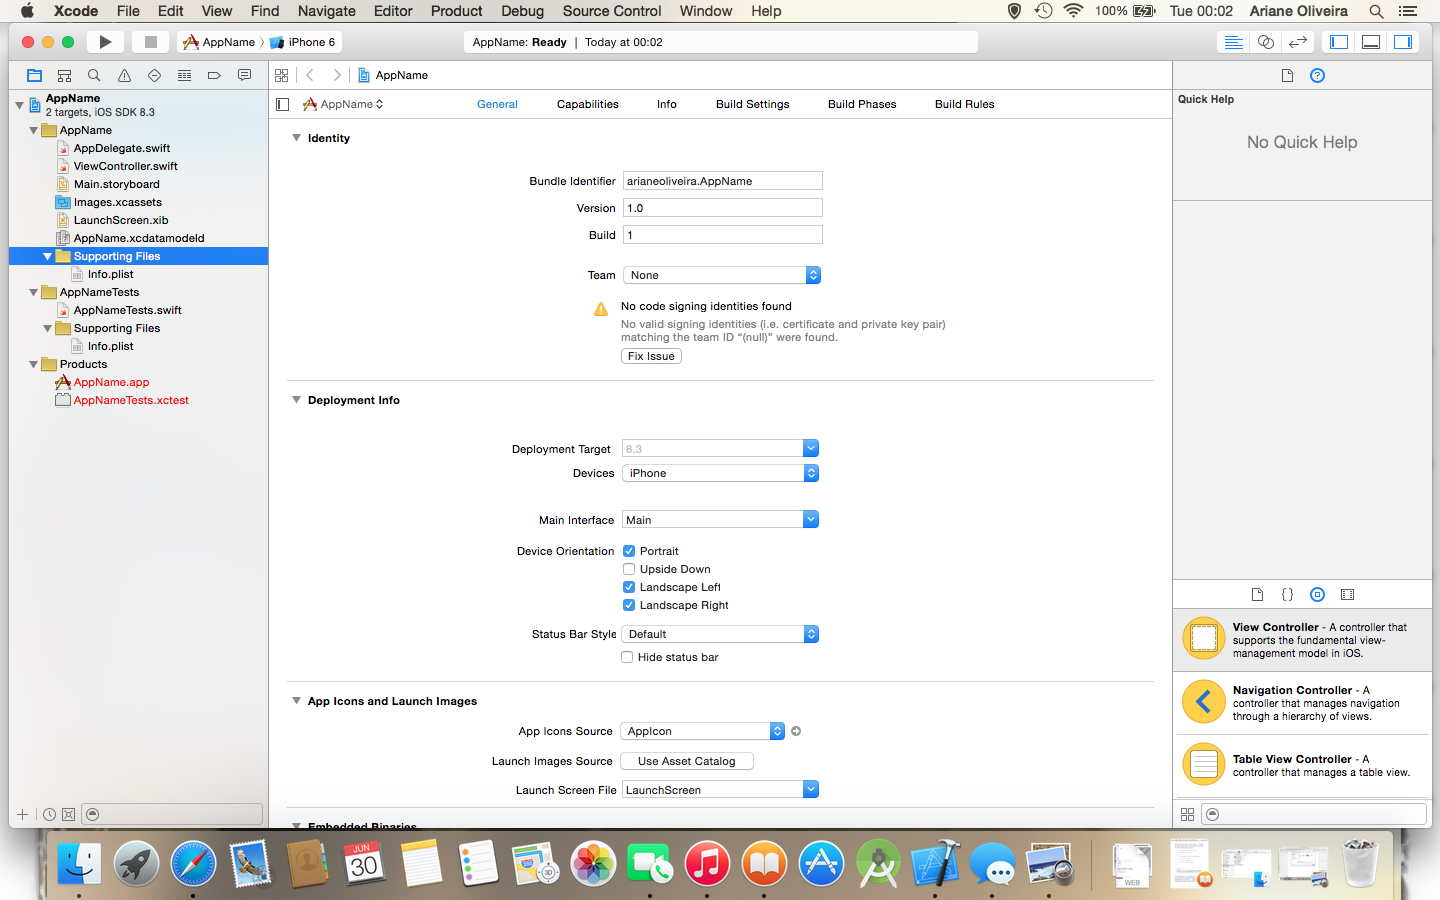
After pressing Create, you will be able to see all the project details and folders. The image below is a print screen of a swift project:
Now it’s just start coding, or planning a UX 😉

Pingback: Get yourself a Git!! | It's Mine
Pingback: Dependence Manager | It's Mine